SEO Meta Tags are most important and useful for our blog's SEO. Meta tags are added to tell search engines what that page is all about. Most important meta tags are the
Title and Description of a page. Only these two tags are included in search engines results with site link obviously. As blogs and sites have more than one pages i.e., a blogger blog normally have following pages.
Blog home page ,
post pages,
static pages,
Labels and
archives.
So we cannot use same meta tags for all our pages. Because every page have different content with unique Title and Description. So it is our duty to add different meta tags that perfectly defines our pages to the Search Engines if we want to rank high in the search results.
If we use same meta tags to all of our blog posts, our blog search engine rankings and traffic will be decreased. But, if we add different unique meta tags to different Blog posts, it will make the search engines to know more about our individual blog posts and make them crawl and index our pages better and it also improves our Search engine rankings for sure :)
Well this is the importance of unique meta tags for unique pages. Now lets learn about adding them in your site.
Add Meta Tags for Every Post in Blogger
There are many ways to do this. I'll write each step but the first one is my favourite and I recommend you to apply this method.
Step 1. Change your blogger settings
Login to Blogger Dashboard >> Select Blog >> Select Settings tab >> Search Preferences
Now Enable search description to Yes.
Write your blog description in the box, it should be limited to 150 characters. Click on Save Changes Button.
Now whenever you create a new post, there will be option for Search Description on the right side. You can write a brief description of every post you are writing.
(This option will be visible after changing search description setting to “Yes” as described above).
Now we just have to add following code in HTML to add these in our blog.
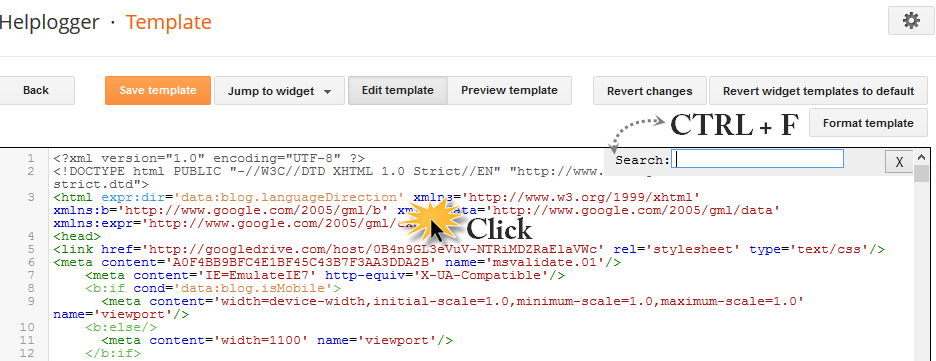
Go to Blogger Dashboard >> Click Template tab >> Click Edit HTML
Find the following code [Tip: Ctrl+F]
<head>
After/under this line paste the following code.
<!-- Meta Tags ~ blogtipsuk.com -->
<b:if cond='data:blog.metaDescription != ""'>
<meta expr:content='data:blog.metaDescription' name='description'/>
</b:if>
<title><data:blog.pageName/> - <data:blog.pageTitle/></title>
<!-- /Meta Tags ~ blogtipsuk.com -->
Now
Save Template. Your blog posts will now have
Title and Description that you wrote while creating your post.
Step 2. Add blogger pages HTML codes
This step is a little tricky. Why? Because you have to add the HTML codes of blogger pages one by one. Just see the code below that can be used to add meta tag for your blog home page URL.
Go to Blogger Dashboard >> Click Template tab >> Click Edit HTML
Find the following code [Tip: Ctrl+F]
<head>
After/under this line paste the following code.
<b:if cond='data:blog.url == data:blog.homepageUrl'>
<meta content='Your Blog Description' name='description'/>
<title>Your Blog Title</title>
</b:if>
Your blog homepage will now have
Title and Description that you wrote in this code in place of
RED color. Now
Save Template.
You can add other page codes as well see full codes here
HTML codes for all blogger pages
Step 3. Add meta tags with URLs
You can add meta tags with specific URLs as well. Just write your desires URL and give that URL specific Title and Description.
Go to Blogger Dashboard >> Click Template tab >> Click Edit HTML
Find the following code [Tip: Ctrl+F]
<head>
After/under this line paste the following code.
<b:if cond='data:blog.url == "Write URL of page"'>
<meta content='Your page Description' name='description'/>
<title>Your page Title</title> </b:if>
Your blog page will now have Title and Description that you wrote in this code in place of RED color. Now Save Template.
Remember some points
1. Apply only one method. Because writing multiple tags will be of no use.
2. Google and all other Search Engine Bots only take those meta tags in their system which come on top the site i.e., if you have multiple title tags then only one title will be taken by bots which in on the most top.
3. You can see your HTML code by pressing [CTRL + U] , just open your blog link and press CTRL + U this will open your blogs page source. and your html site will open.
Need any assistance, don't hesitate to comment down. Have a good day!